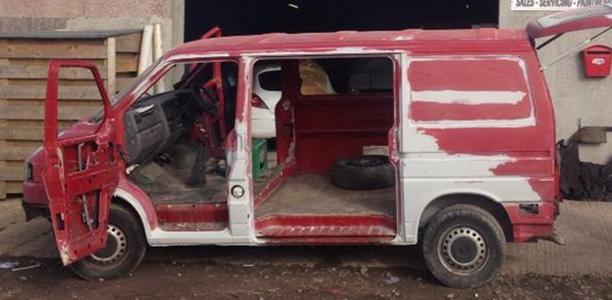
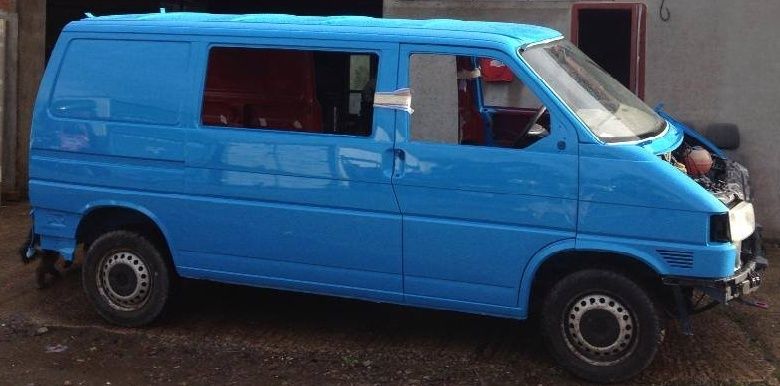
i've always wanted a van but being young i always found insurance was too high, plus the general cost of vans always kept me away. initially i was looking for a t25 panel van but after thinking about the amount of miles I rack up figured a t4 would probably be a better option. i got quite lucky and managed to source a 2.5tdi t4 that had just been painted but the would be owner couldn't afford to carry on with the project. so what i was left with was a completely stock untampered t4 but in a nicer colour to standard.
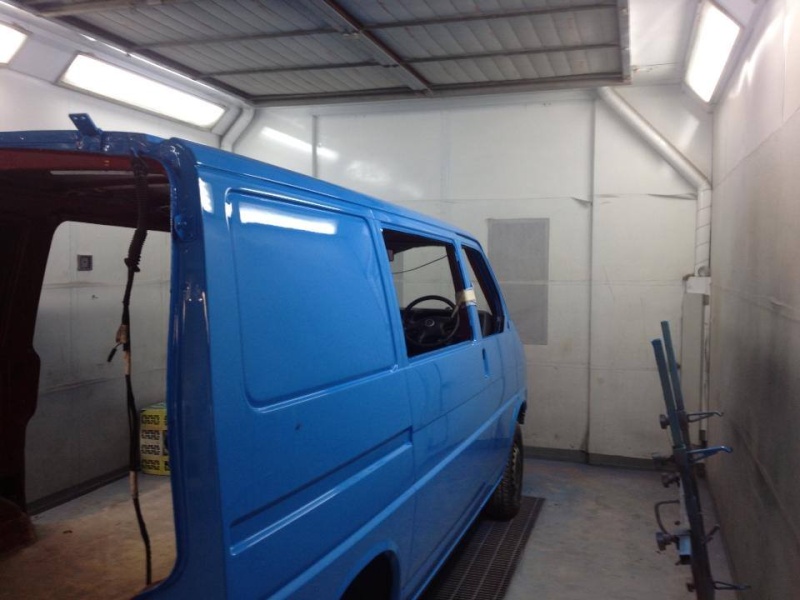
here are a few pictures of it during the paint process
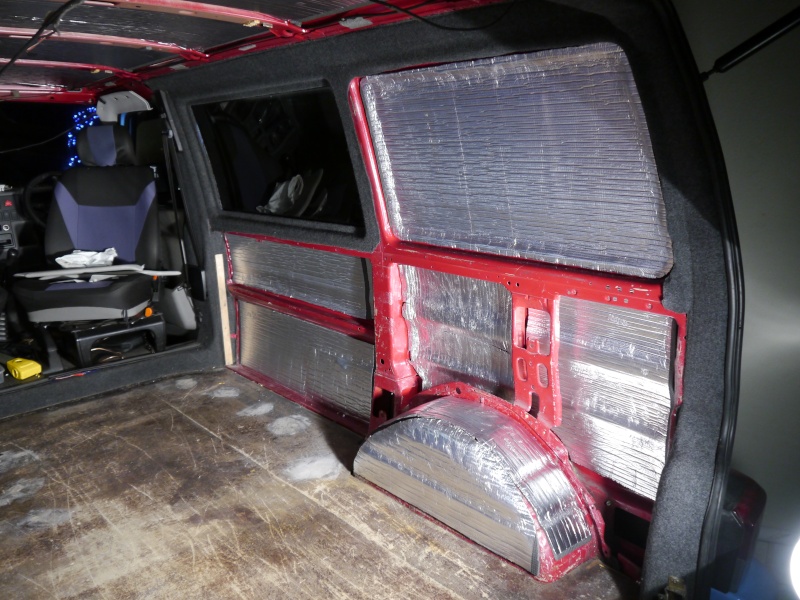
from here I started on the back of the van adding insulation and sound proofing. i found this was an absolute minefield with the amount of contradicting opinions from different people. i used "thermoliner" from harrison trim supplies this stuff was super easy to cut to shape and work with. it has a really sticky back which was handy when installing. i bought 7 meteres which was just enough with some left over for the back of the van. i added recycles bottle insulation to bulk out areas such as the wheel arches or double skin parts like the tail gate. alot of people add a whole layer of this to the walls but i really didnt see that much point in this as id rather the foil back to have a cavity space to aid in heat convection.
i also started to carpet the van at this stage too using mega van matts standard carpet. once again easy to work with and seems good quality for the price. i used trim fix high temp glue which seems to of done a great job so far
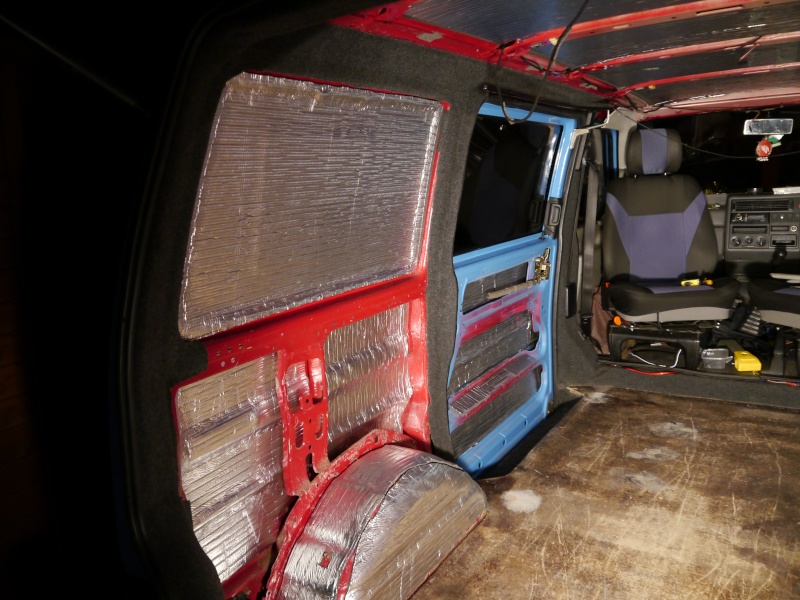
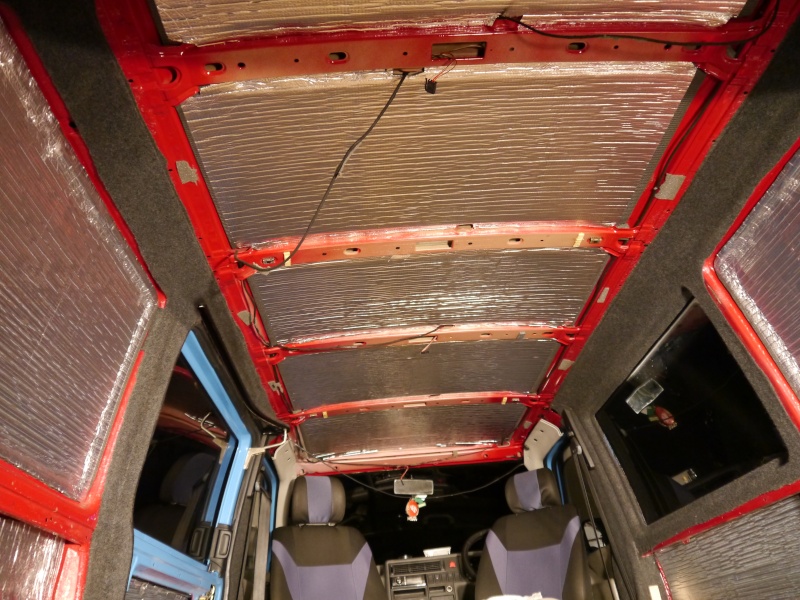
next job was to get the floor in, to begin with i laid vinyl underlay down on the 9mm wood floor just to add a bit of bounce to it on your feet and also to add to insulation/sound deadening. i used an offcut of altro flooring which i read up to be pretty heavy duty stuff and it does definitely seem more hardy then your standard kitchen vinyl. really easy to keep clean too.
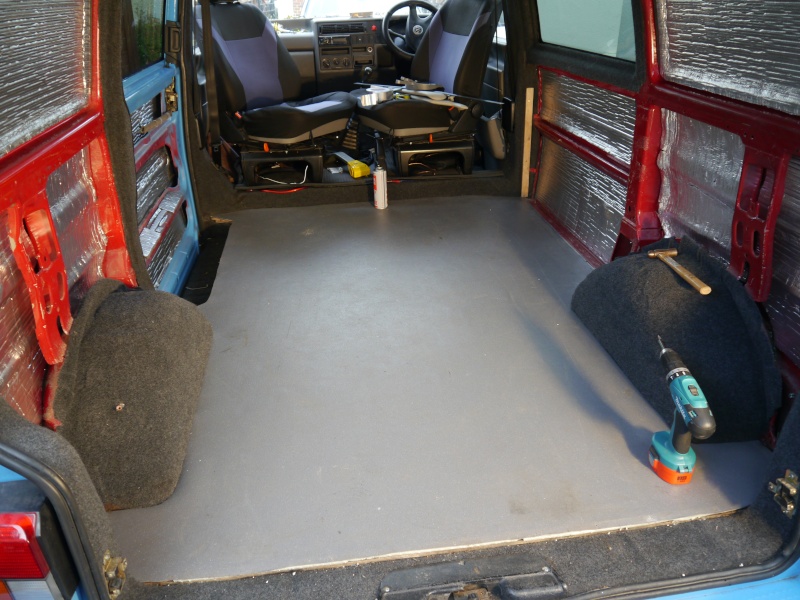
now i could finish carpeting the rest of the back, i used ply to make the panels and then covered these in the mega van mats carpet using the trim fix glue. these were then screwed into the body using self tapping screws. i did it this way in case i wanted to put wires through the back and incase i ever needed to get to the inside of the body easily, i could easily just remove the panels.

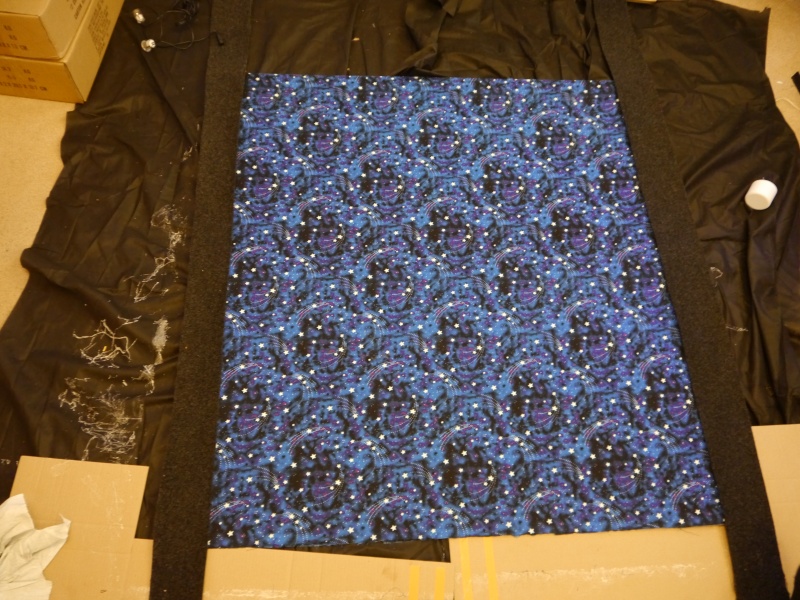
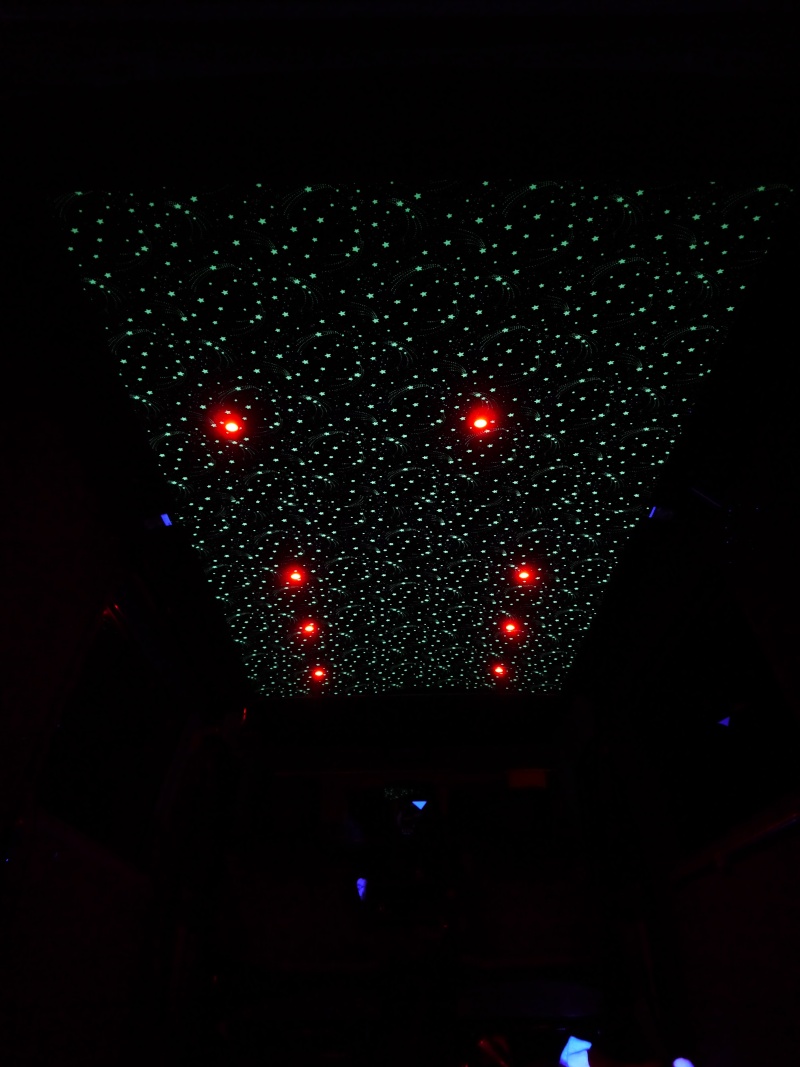
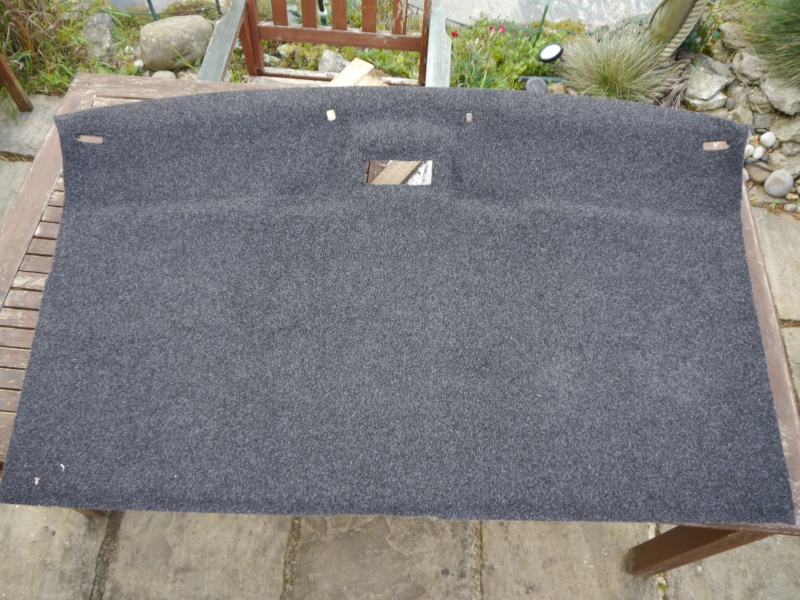
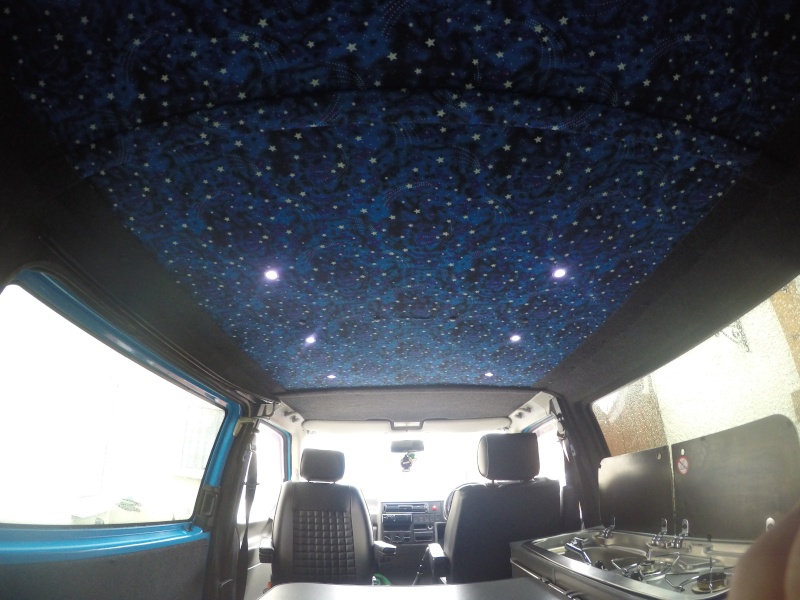
next job was the roof panels. the original roof panels were pretty mangy and i did think of just binning them and using ply to make one continuous roof panel. i was trying to stick to a minimal budget so i made do with what i had. to my surprise it worked out pretty well. i sourced some "space" material that's glow in the dark but not to in your face ( i really didn't want it to look tacky) which i then glued onto the panels. it wasn't quite wide enough so i made up the extra width with strips of mvm carpet.
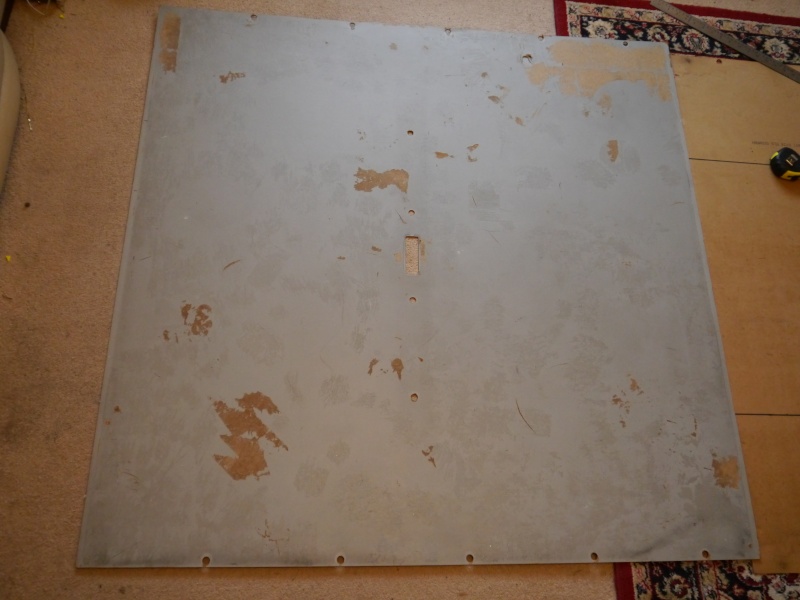
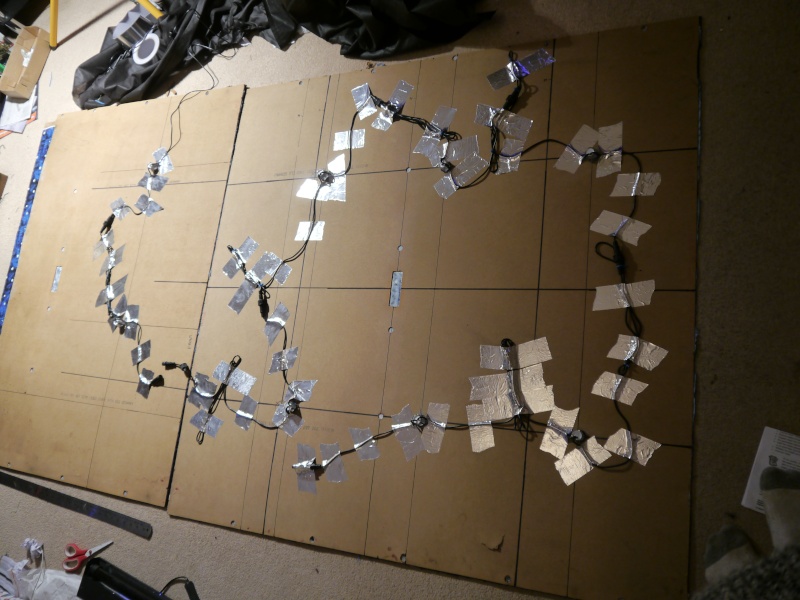
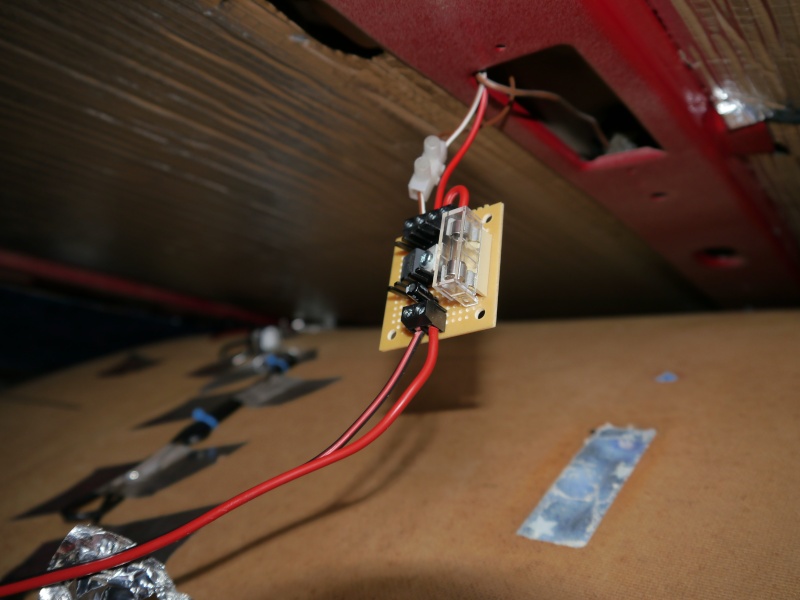
for lighting i used decking lights from wikes. there multi colour as well as white so add a nice bit of mood lighting to the back and seem to be built well. there a good brightness, not being too bright you feel like your under interrogation but not too dull you cant see what your doing. i connected them into the existing wiring of the interior light and used a 12v regulator so that they get a consistent voltage. this stops the lights blowing in the event of a power surge like when you initially turn on the engine

i relined the cab headliner in normal mvm carpet. i thought it would look a bit too much having the space material following through to the front plus i like the cab area to just be nice and plain and not too in your face.

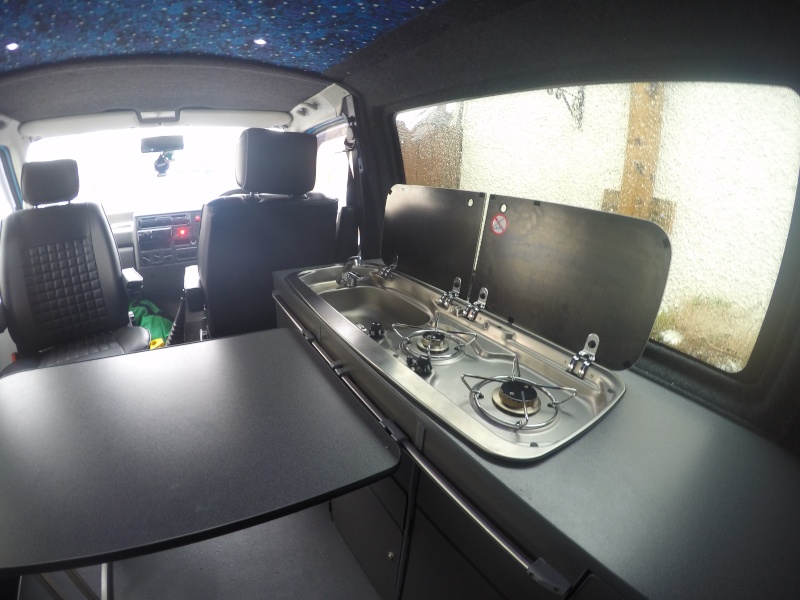
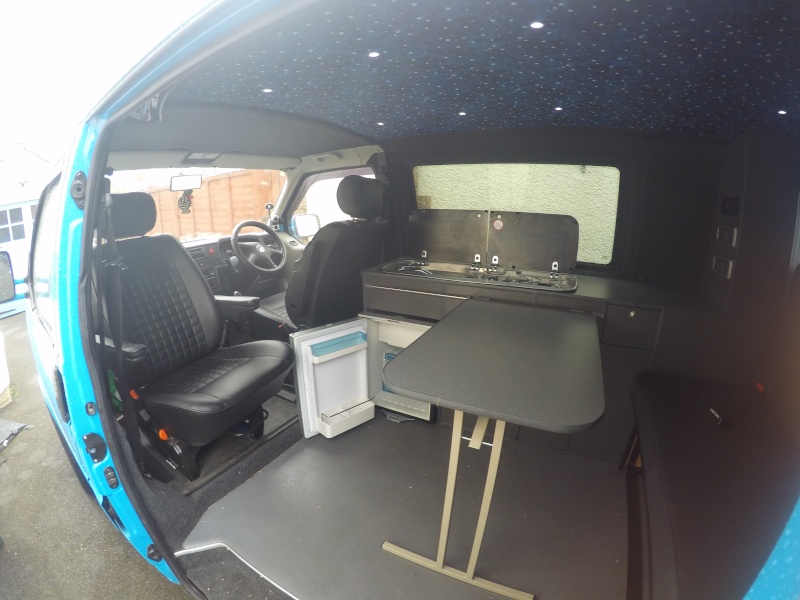
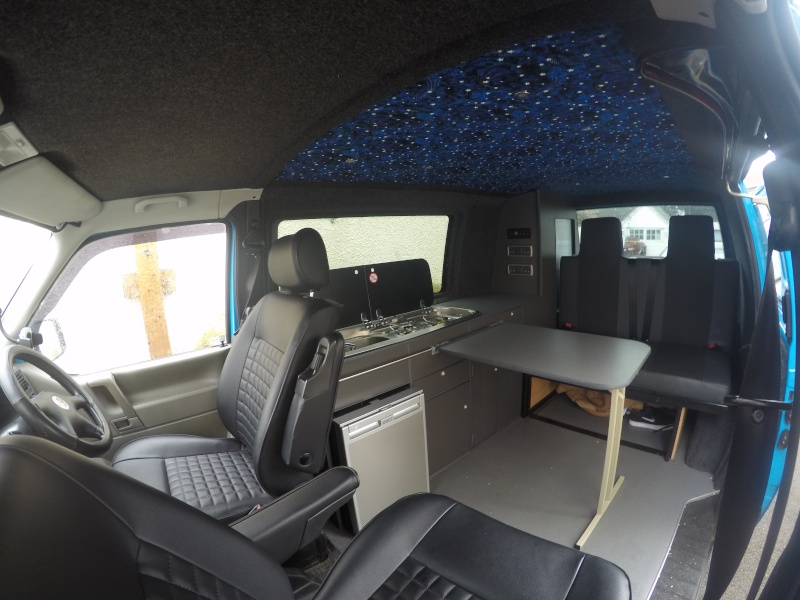
at this point i didn't quite know what route to take the interior. luckily an opportunity to gather some vohringer ply units arose so this kinda made my mind up for me. they took quite a bit of tinkering to get into the van with a fair bit of measuring, slightly sanding, more measuring and more sanding!
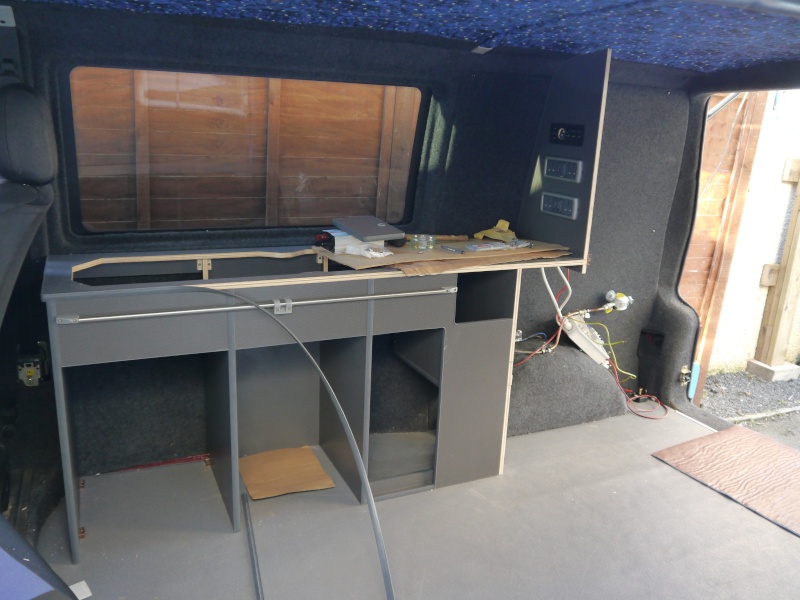
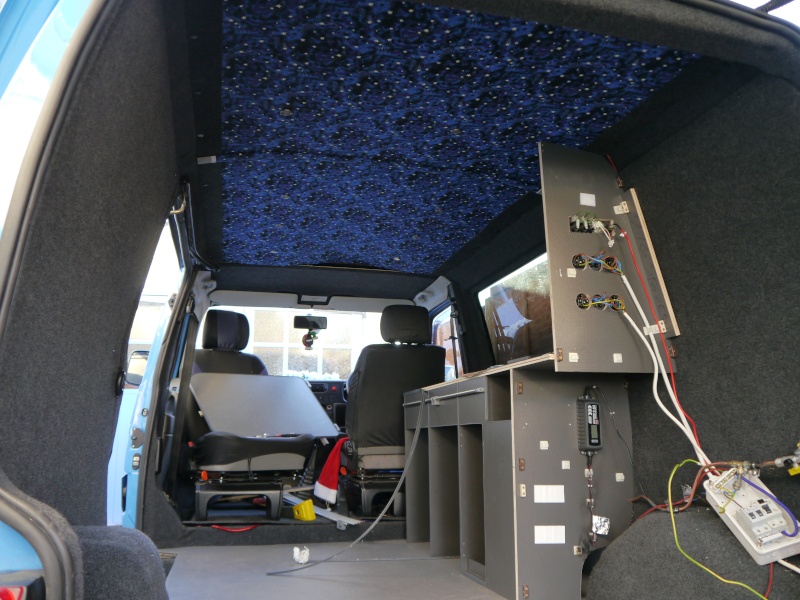
the hardest part was fitting the cupboard doors and drawer. i actually had to make little custom bits for it all to fit smoothly but im pretty pleased with the result. i also started to place electrical items into place like a trickle battery charger, consumer unit and various plug fittings.
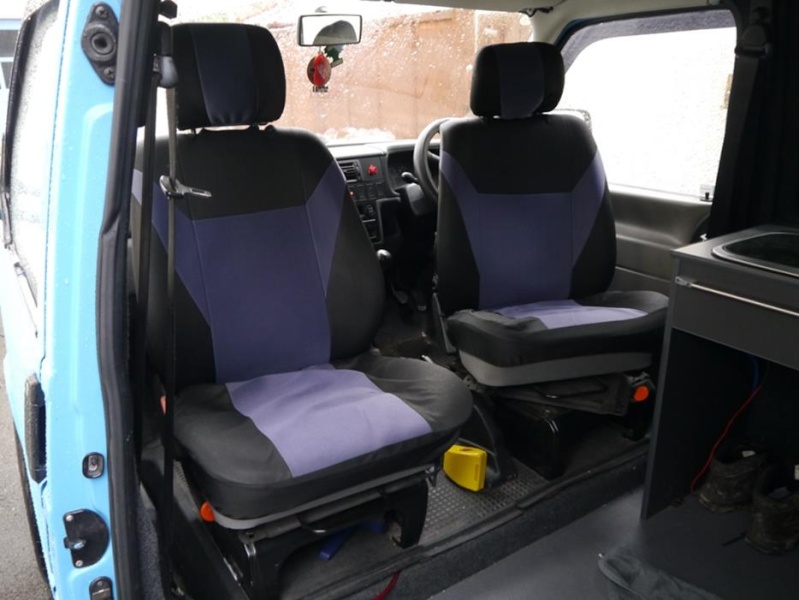
i replaced the old tatty single seats with re trimmed captain seats from a caravelle. having arm rests is such a luxury for those long drives!

managed to source a smev double cooker and sink and also a waeco cr50 fridge after some time to really finish things off.
i also got extremely lucky and managed to source a "as new" rock'n'roll bed manufactured by JAS conversions here in weston, in colours to suit the rest of interior.
as far as the outside goes its pretty much stock apart from being lowered around 50mm on lowering springs and 18" replica rs alloys and the addition of some wind deflectors. i'm a big fan of just the standard look so this is probably the way the van will remain on the outside.

next jobs are:
split charger
go through the electrics and sort out all the wiring
cruise control
make fridge fit flush with units
